Prepare your router for setup
Before you begin the installation, gather the physical hardware and digital access points required to complete the configuration. This preparation phase prevents interruptions and ensures you have everything needed to configure the device correctly.
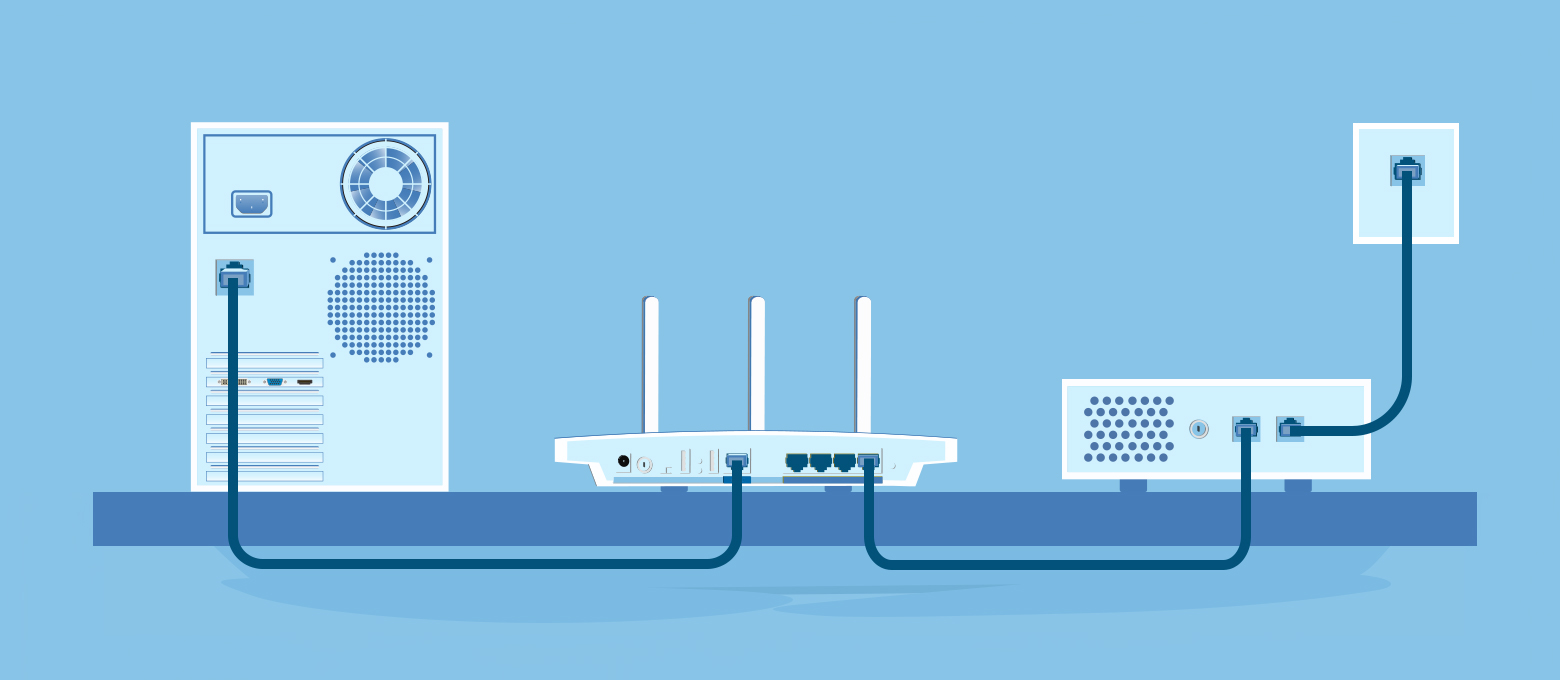
Locate the router box and verify the contents. You should find the router unit, a power adapter, an Ethernet cable, and a quick-start guide. If your internet service provider supplied a modem, ensure it is powered on and connected to the wall jack. For a wired connection during initial configuration, have a second Ethernet cable ready to link your computer to the router. This direct connection is the most reliable way to access the admin interface.
On the digital side, you will need your internet account details. Have your username and password ready, as most modern routers require these credentials to authenticate with your ISP. Additionally, create a strong, unique password for the router’s admin dashboard. This password controls all network settings and should be different from your Wi-Fi password to maintain separate security layers.
Choose a central location for the router before you start running cables. A central spot provides the most even Wi-Fi coverage throughout your home. Ensure the area is well-ventilated and away from thick concrete walls or large metal objects that can block signals. Once you have the hardware and information ready, you can proceed to the physical connection steps.
Connect hardware and power on
A solver router for maximum network efficiency works best as a sequence, not a scramble through settings. Do the minimum first: confirm compatibility, connect the core hardware, update only when needed, and test the result before adding optional features. That order keeps the task understandable and makes failures easier to isolate.
After each step, pause long enough for the interface to finish syncing. Many setup problems are timing problems disguised as configuration problems. If the same step fails twice, record the exact error, restart the smallest affected piece, and retry before moving deeper.
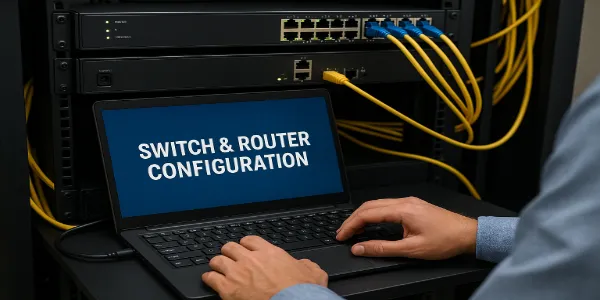
Access the router dashboard
Once your hardware is connected and powered on, the next step is to access the administrative interface. This is where you will configure your network settings, update security protocols, and ensure the device is operating correctly. You can reach the dashboard either through a web browser on a computer or via the manufacturer’s dedicated mobile application.
Log in via web browser
Open your preferred web browser and enter the router’s default IP address into the address bar. Common default addresses include 192.168.1.1 or 192.168.0.1, though this may vary depending on the specific model you are using. If you are unsure of the address, check the label on the bottom of the router or refer to the quick start guide.

You will be prompted to enter a username and password. If you have not changed these credentials from the factory defaults, they are typically found on the router’s label. For security reasons, it is highly recommended that you change the default password immediately after your first login. Cisco notes that securing your gateway with a strong password is a fundamental step in stress-free setup.
Use the manufacturer app
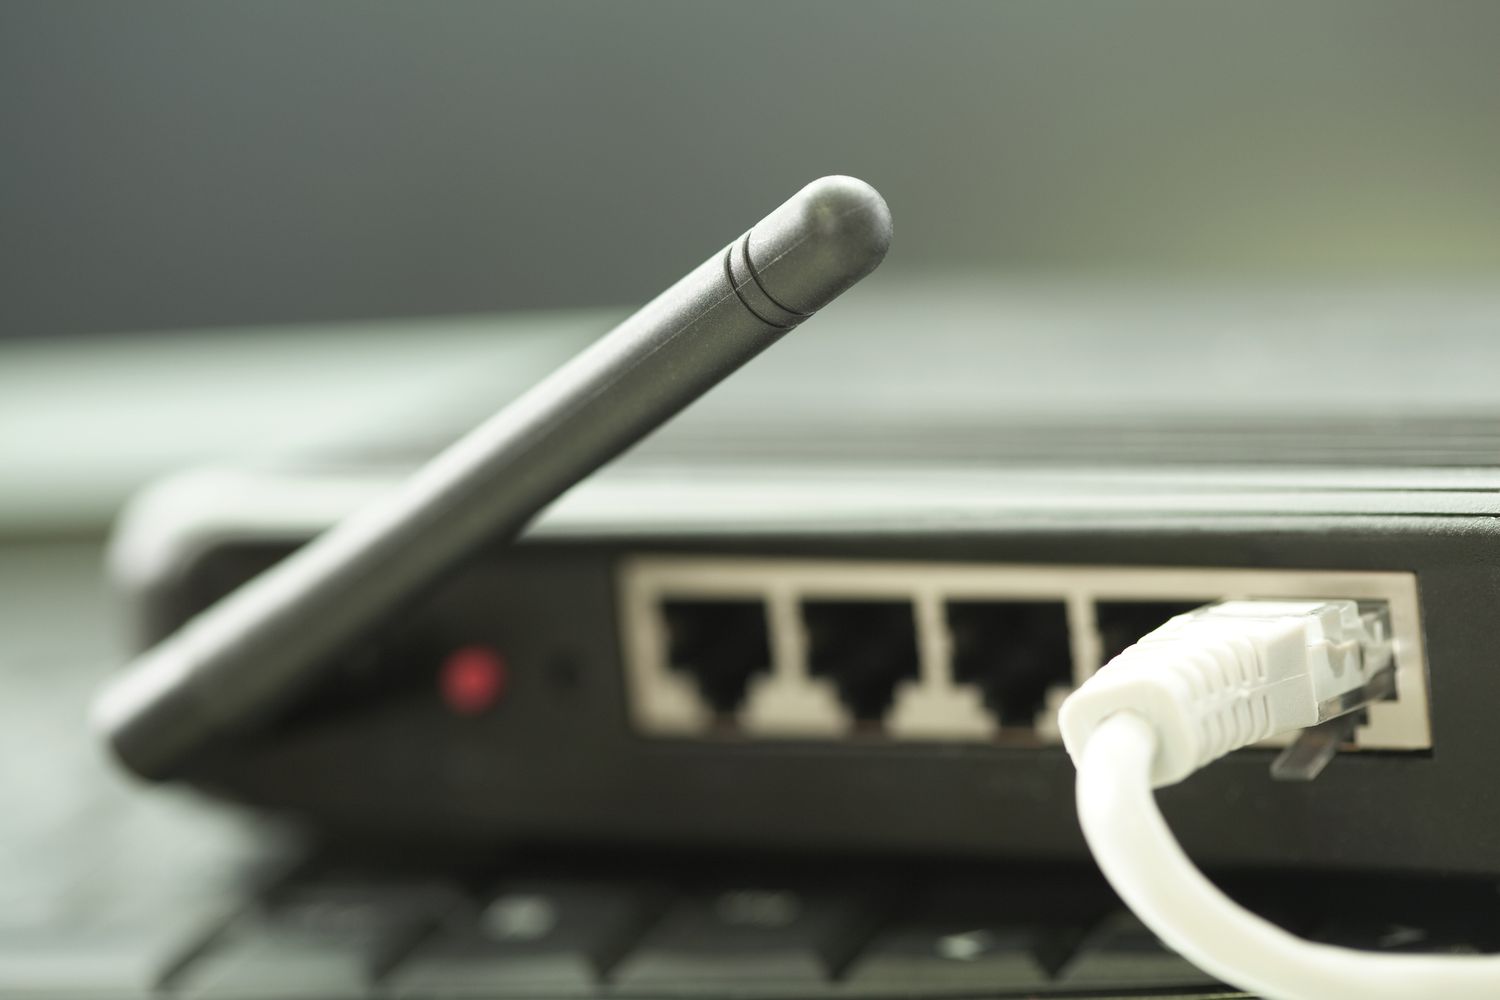
Many modern routers support a companion app that simplifies the setup process. Download the official app from the iOS App Store or Google Play Store. Open the app and sign in or create an account using your email address. The app will automatically detect your router if it is connected to your local Wi-Fi network.
:max_bytes(150000):strip_icc()/GettyImages-184999273-5a0f7d84845b34003b32d9e8.jpg "solver router setup")
Follow the on-screen prompts to complete the initial configuration. The app often handles firmware updates and security checks automatically, reducing the need for manual intervention. This method is particularly useful for users who prefer a visual interface over navigating complex web-based menus.
Verify connection
After logging in, verify that your router is properly connected to the internet. Check the status page in the dashboard or app to ensure the WAN connection is active. If you encounter any issues, consult the troubleshooting section of the router’s manual or contact the manufacturer’s support team for assistance.
Set up Wi-Fi and security
The network name and password are the first line of defense. If these are weak, the rest of your configuration won't matter. You need to claim your router's identity and lock the door before connecting any devices.
Log into your router's admin panel. This is usually done through a web browser by entering the router's IP address, which is often found on a sticker on the device itself. Once you are in the dashboard, look for the Wireless or Wi-Fi settings section.
Find the field labeled "SSID" or "Network Name." This is how devices will identify your network on the airwaves. Pick a name that is unique to you. Avoid using your address or personal name, as this gives away information to anyone nearby. A simple, distinct name helps you find the right network quickly when you have multiple devices in your home.
In the security or wireless settings, locate the password field. Create a passphrase that is at least 12 characters long. Mix uppercase letters, lowercase letters, numbers, and symbols. Avoid common words or predictable patterns like "password123." A strong password prevents unauthorized users from piggybacking on your connection or accessing your local network.
Look for the "Security Mode" or "Encryption" dropdown menu. For a 2026 router, select WPA3-Personal (or WPA3-SAE). This is the latest standard and provides the strongest protection against brute-force attacks. If your router is older and does not support WPA3, use WPA2-AES. Never leave the security setting on "Open" or use the outdated WEP standard.
Click "Apply" or "Save Settings." The router will likely restart to apply the new security protocols. During this reboot, all connected devices will be disconnected. Wait for the lights to stabilize, then reconnect your devices using the new network name and password. This ensures that any old, unsecured connections are terminated.
After you have completed these steps, verify that your network is secure. You can do this by checking the status page in your router's dashboard or by using a network scanning app on your phone. Ensure that the encryption type is still showing as WPA3 and that no unknown devices are connected.
Optimize network settings
Your router’s default configuration is rarely the most efficient setup. Manufacturers ship devices with conservative settings to ensure broad compatibility, but these defaults often throttle performance or create unnecessary latency. Adjusting these parameters directly impacts how your network handles traffic.
Start by accessing your router’s web dashboard. The process is similar to setting up a new device: locate the IP address on the router label, enter it into your browser, and log in with your credentials. Once inside, look for the wireless or network settings menu.
Focus on two main areas: channel selection and frequency bands. Modern routers support both 2.4 GHz and 5 GHz bands. The 2.4 GHz band travels further but is crowded and slower. The 5 GHz band is faster and less congested but has a shorter range. For your router, prioritize 5 GHz for devices close to the unit.
You should also adjust the channel width. Wider channels allow more data to pass through but are more susceptible to interference from neighbors. Narrower channels are more stable. Use the comparison below to guide your changes.
These adjustments work together to create a cleaner signal. Think of your router like a traffic cop. Default settings let cars (data packets) go wherever they want, causing jams. Optimized settings direct traffic to open lanes, keeping your router responsive even under heavy load.
After changing settings, save your configuration and reboot the router. This ensures all changes take effect cleanly. You can then test your network speed using an online tool to verify the improvements.
Test your connection speed
With the router configured, the final step is to verify the setup is performing as expected. You need to confirm that the network is delivering the throughput promised by your internet service provider and that the new router is handling the load efficiently.
Run a speed test using a wired connection first to establish a baseline. This eliminates variables like Wi-Fi interference and gives you the true maximum capacity of your internet plan. Place the test device close to the router, ideally within ten feet, to ensure the signal is strong. Use a reliable tool like Wirecutter’s recommended speed test for accurate results. Compare the download and upload speeds to your plan’s specifications.
Next, test the wireless performance. Move to different rooms in your home to check for dead zones. The router should maintain stable speeds even through walls and floors. If you notice a significant drop in performance in certain areas, you may need to adjust the router’s position or enable mesh features if your model supports them.
A typical 2026 router setup should deliver consistent speeds across the network. For reference, most modern routers can handle download speeds exceeding 500 Mbps in ideal conditions.
If your speeds are lower than expected, check for firmware updates. Outdated software can limit performance or cause connectivity issues. Visit the router’s admin dashboard to ensure you are running the latest version. This simple update often resolves minor glitches and improves overall stability.
Best routers for your 2026 network
Choosing the right hardware is the first step in a successful installation. A capable router handles the heavy lifting of network traffic, ensuring stability across all connected devices. Below are our top picks for different needs and budgets.


As an Amazon Associate, we may earn from qualifying purchases.
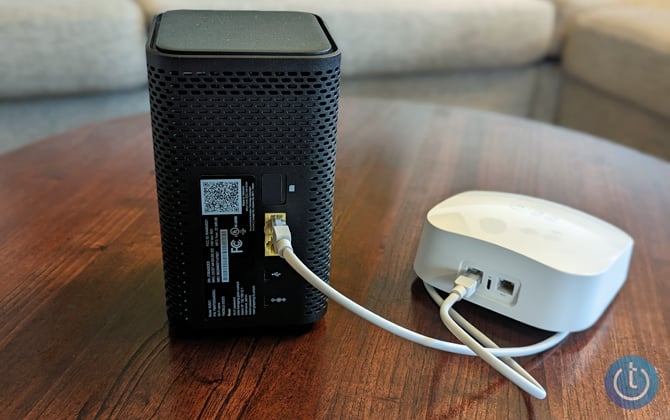
The TP-Link Deco XE75 Pro stands out as the best overall choice for most users. It offers a balanced mix of speed, range, and ease of use, making it ideal for homes with multiple floors. The app guides you through the setup process, ensuring correct configuration without technical headaches.
For those on a tighter budget, the TP-Link Archer AX55 delivers solid performance without the premium price tag. It supports WiFi 6, providing faster speeds and better efficiency for older devices. This router is a reliable workhorse for small to medium-sized apartments.
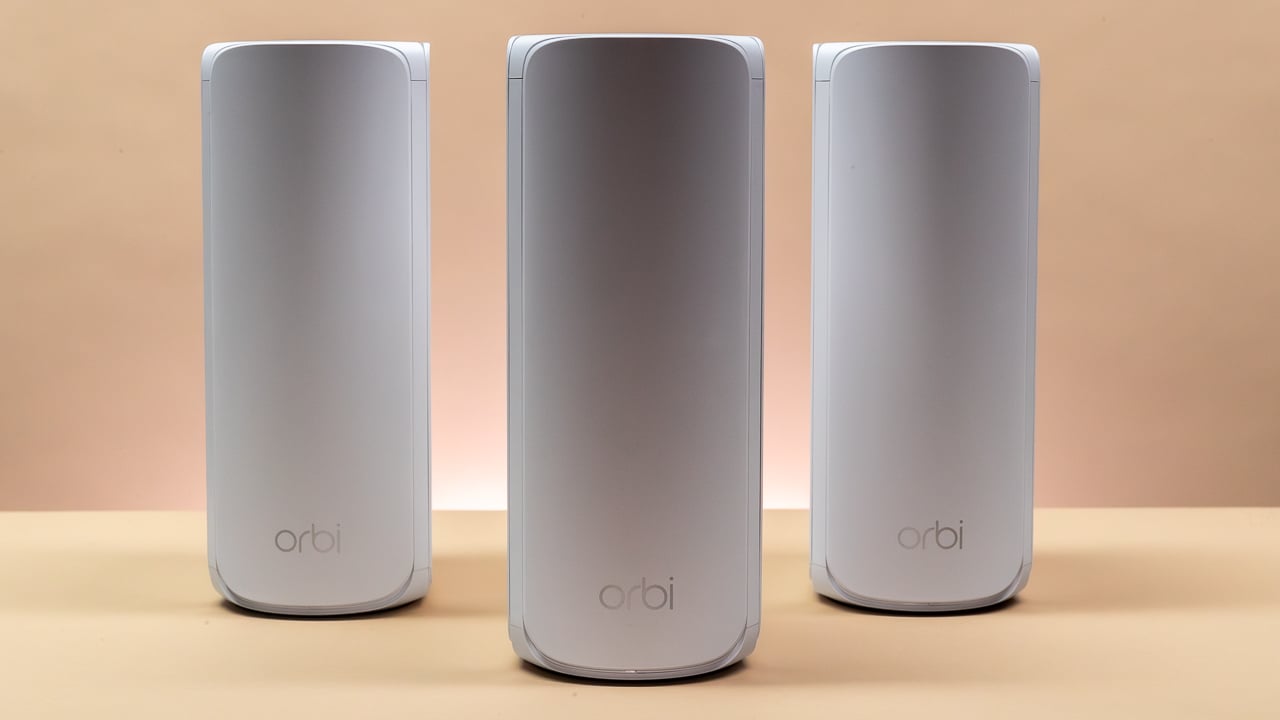
If you have a large home or thick walls, the Netgear Orbi system is worth the investment. Its dedicated backhaul ensures that your internet speed remains high even when multiple devices are streaming or gaming. This setup minimizes dead zones and provides consistent connectivity throughout your property.
No comments yet. Be the first to share your thoughts!